Learn more


Are you tired of dealing with a clogged grease trap? Cleaning your grease trap regularly is essential to maintain a healthy and functioning kitchen. In this ultimate DIY guide, we will walk you through the step-by-step process of cleaning your grease trap effectively. Say goodbye to foul odors and hello to a clean and efficient kitchen!
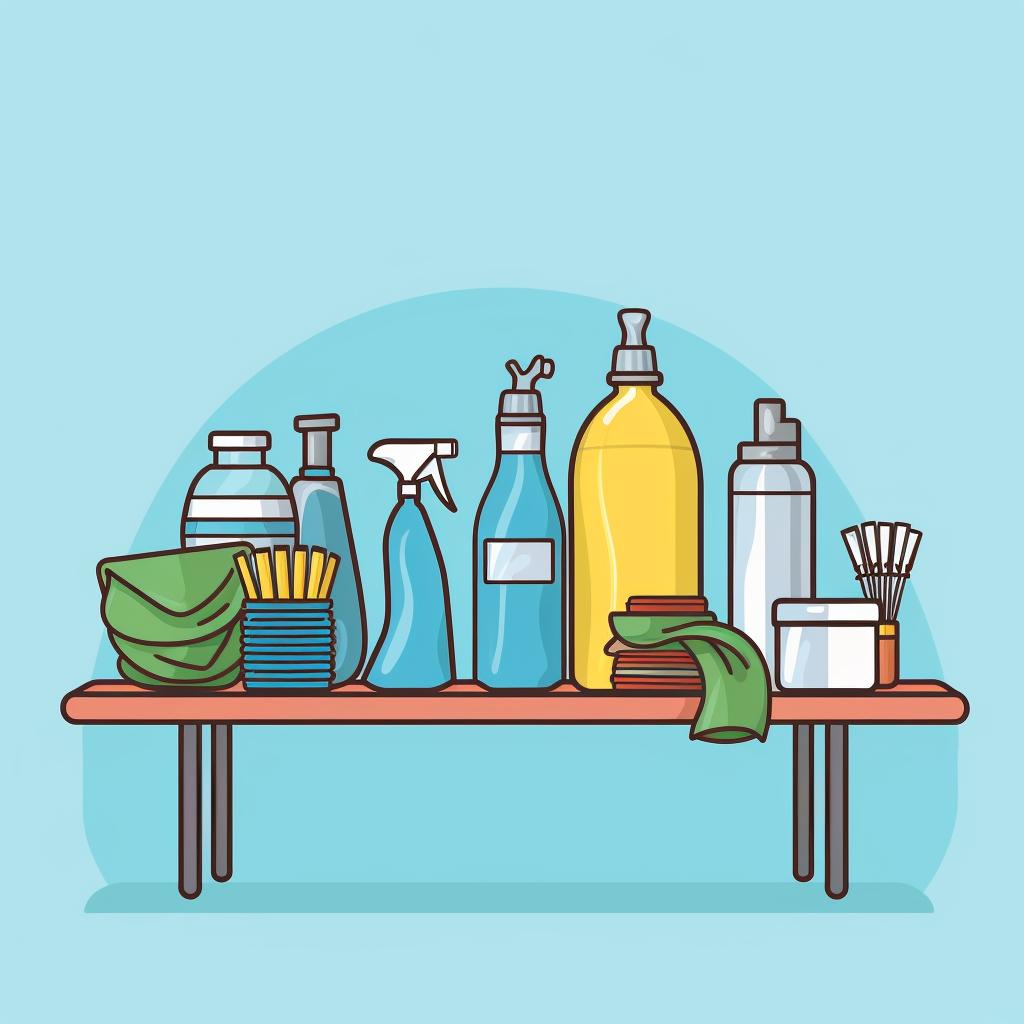
Step 1: Gather Your Cleaning Supplies
Before you start, make sure you have all the necessary supplies. Rubber gloves, a bucket, a scraper, a plastic bag for waste, and cleaning detergent are essential. Safety should always come first!
Step 2: Remove the Lid from the Grease Trap
Slowly and carefully remove the lid from the grease trap. Be cautious, as there might be foul-smelling gases trapped inside. Proper ventilation is crucial during this step.
Step 3: Measure and Record the Grease Depth
Using a measuring stick or dowel, measure the depth of the grease layer in the trap. Keeping a record of these measurements will help you monitor the condition of your trap over time.
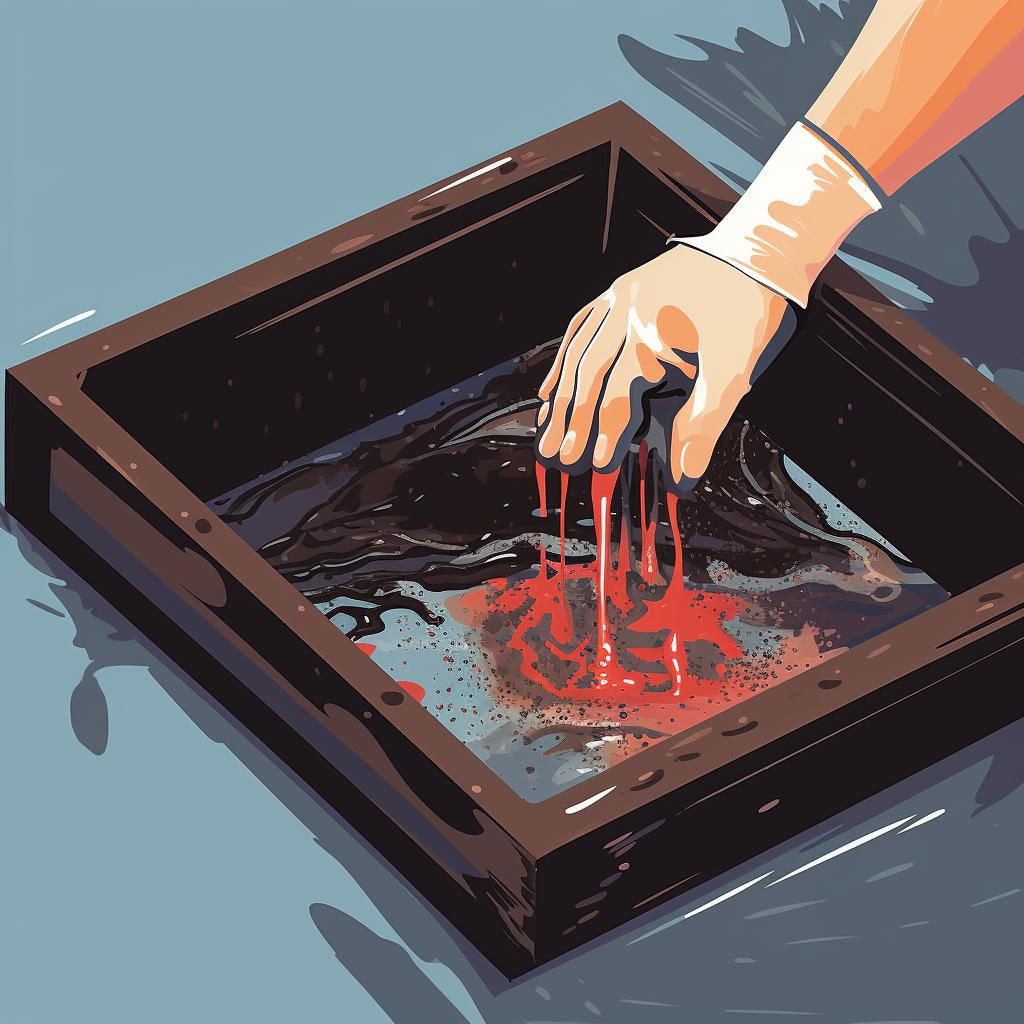
Step 4: Remove the Grease Layer
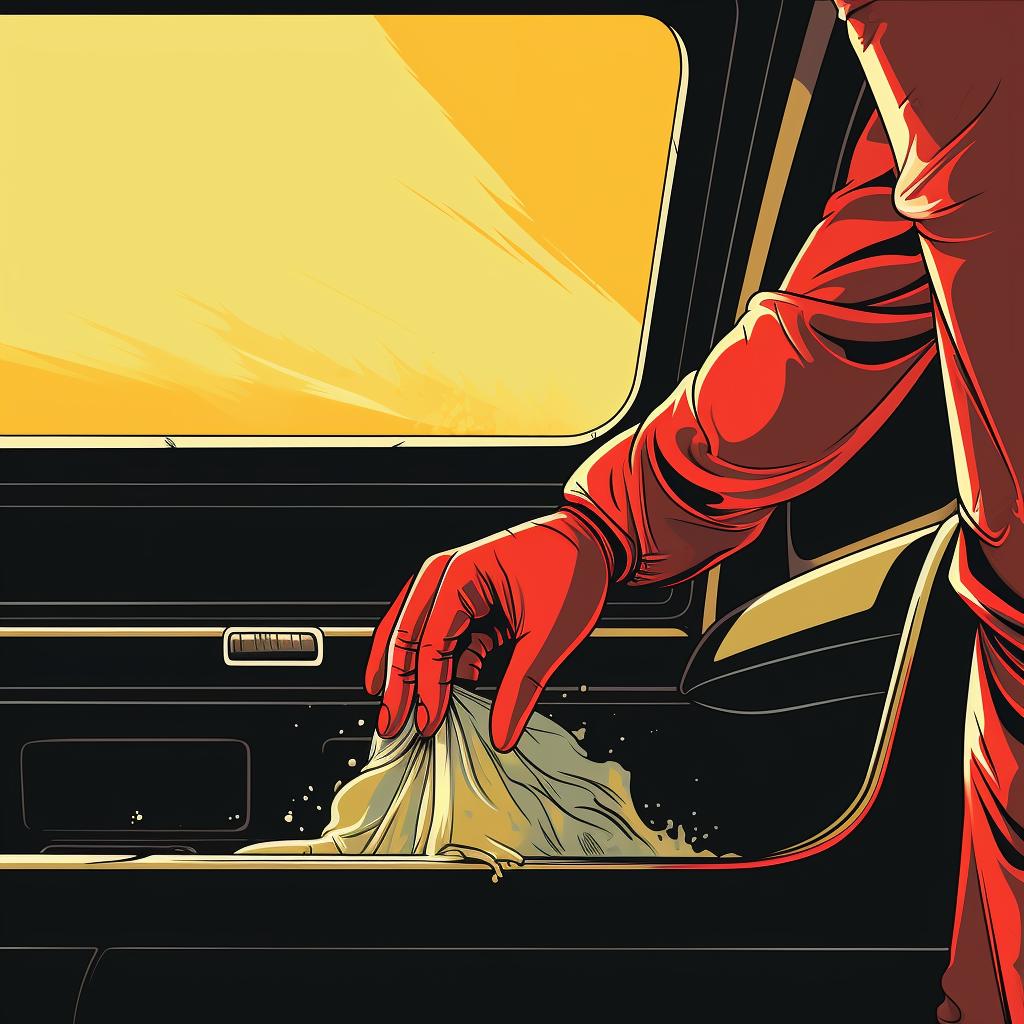
Using your scraper, carefully remove the layer of grease from the trap. This can be a messy process, so take your time and ensure you remove all the grease. Dispose of the waste in a plastic bag.
Step 5: Clean the Baffles
The baffles are the barriers within the grease trap that prevent grease from flowing into the drainage system. Thoroughly clean the baffles using your scraper and detergent. This step is crucial to ensure the trap functions properly.
Step 6: Scrub the Trap
Now it's time to give the entire trap a good scrub. Use your cleaning detergent and scrub all sides and corners of the trap. A thorough scrub will eliminate any remaining grease and grime.
Step 7: Rinse and Replace
Once you have cleaned the trap, rinse it thoroughly with warm water. Make sure to remove any residue from the trap. Finally, carefully replace the baffles and the lid. Congratulations, you have successfully cleaned your grease trap!
Regularly cleaning your grease trap is essential for maintaining a clean and efficient kitchen. By following these simple steps, you can ensure that your grease trap functions properly and prevents clogs and foul odors. Remember, safety should always be a priority, so wear protective gloves and ensure proper ventilation during the cleaning process.
For more expert tips and advice on cleaning everything from kitchen appliances to your home's exterior, visit Clean Envy. Discover how to make your home sparkle and shine with our comprehensive cleaning guides.
All Rights Reserved © 2024


